At Old City Swim School, we want everyone to feel like a legit pro from their very first lesson. From the “secret code” required with the security guard when entering campus (psst… briefly stop your car, wave, smile, and then turn right and continue on once the guard waves back) to where you as the parent are supposed to sit, everything you need to be 110% prepared for your child’s first learn-to-swim lesson with us is outlined below.
Use the map provided in your welcome email (also linked here) to guide you to the MSSD campus once you enter the University. Once you’ve parked in the MSSD parking structure (bike racks are also available outside the pool), enter the MSSD campus area by walking down the sidewalk between the 2 buildings at the roundabout circle. The building on your left is the MSSD athletic facility. Enter through the set of double doors into the lobby and turn right at the high-school trophy case. Walk through the hallway to a set of blue doors. This is the pool. Open the door (be prepared for a burst of hot steamy pool deck air to come rushing at you) and head to your right upon entering.
At the registration desk, our friendly lesson greeters will be smiling and ready to welcome you! Let the greeter know you are a new family attending your first class. Moving forward, every single week, your child (or you) will check in upon arrival with one of the greeters at the registration desk.
4-5 minutes before your child’s scheduled lesson time, a member of our deck staff will call the next class of swimmers over to the area by the diving board. Swimmers are then organized into groups based on their Level and then escorted by a member of the deck staff around the pool over to where their assigned swim coach is waiting in the water to greet them!
If you arrive more than 5 minutes early (this means you aced your directions on how to find the pool – congrats!) and the next group of swimmers has not yet gathered by the diving board, please take your child to the parent seating area with you until the next lesson group is called.
At the end of the lesson, members of the deck staff will exit swimmers from the lesson area around the far side of the pool deck to parents and caregivers in the parent seating area. The exception to this may be swimmers in upper levels who exit from the diving well if their lesson ended in that section of the pool.
Restrooms for changing are located in the lobby of the MSSD athletic building to the left of the trophy case when you first walk in. The restroom facilities are large enough for changing, but unfortunately, due to school regulations, we’re not allowed to use the high school’s locker room and shower facilities which are reserved for student-athletes and those who live on campus.
Your experience as a parent/caregiver during lessons
First and foremost, the temperature inside the pool is quite warm to help keep our swimmers comfortable. Parents, dress appropriately if you plan to stay on deck and watch from the parent seating area!
During lessons, you, the parent, are welcome to sit in the parent seating area on the pool deck, hang out in the lobby by the trophy case or outside and watch through the big glass windows.
For the safety of all swimmers, staff, and coaches, parents and caregivers are NOT allowed on the area of the pool deck where lessons take place.
What to expect if your child is a more experienced swimmer
Every child begins at Level 1. Because our learn-to-swim program is a technique-focused, skill-based building block system, we will check your child’s form at every point along their swim journey. Experienced swimmers may progress through levels more quickly until they land at the level appropriate for their current skill set, perhaps even being promoted through multiple levels during their first class.
That said, they may also stay at a certain level if they need to unlearn a bad habit they may have picked up over time. For example, if your child possesses the ability to swim a basic front crawl (Level 4) but has not yet mastered a proper flutter kick from the hips, she’ll stay at Level 3 until she has learned a proper kick! As a parent, you can help manage your child’s expectations by reminding them there may be levels they easily pass through the required skills and other levels where they stay for a while until they have learned or corrected their technique.
What to expect if your child does not have formal swim lesson experience
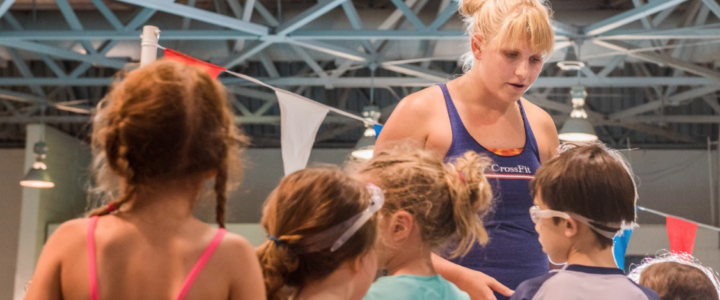
Our goal is to teach your child how to swim and ensure they have fun along the way! In order to achieve this, your child is going to be asked to get wet, splash around, and try new things. Our instructors are highly trained but they are not miracle workers. We believe that no child can learn how to swim if they are afraid or scared in the water. In order to be successful in Old City’s Learn-to-Swim program, your child must be comfortable independently getting in the pool with their designated coach without a parent present and demonstrate a willingness to try new things and learn from their coach.
Your role as the parent is critical to your child’s success. We ask parents to help set expectations and prepare your child ahead of their first lesson, especially if they are young and new to swim lessons. To help prepare your child for the environment, watch our welcome video together here before your first lesson!
You can let them know that every week a coach from our deck staff will escort them to the pool where their coach is ready to greet and welcome them to their lesson! Explain to your child that at the end of their lesson they will walk around the far side of the pool to where you are sitting ready to celebrate and congratulate them on a great first swim lesson!
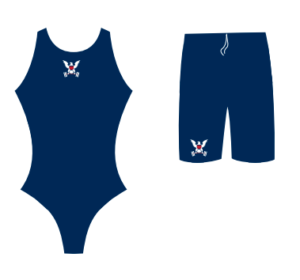
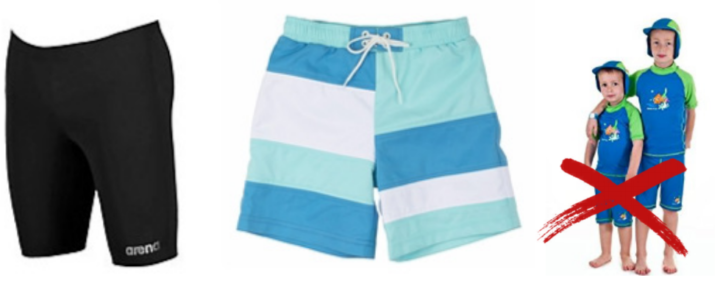
For tips on selecting the right swimsuit for your child or whether they need goggles, check out our blog post here!